
Getting started
Create a workspace, connect an account, and publish your first scheduled post — on your own, or with people posting alongside you.
Start by writing
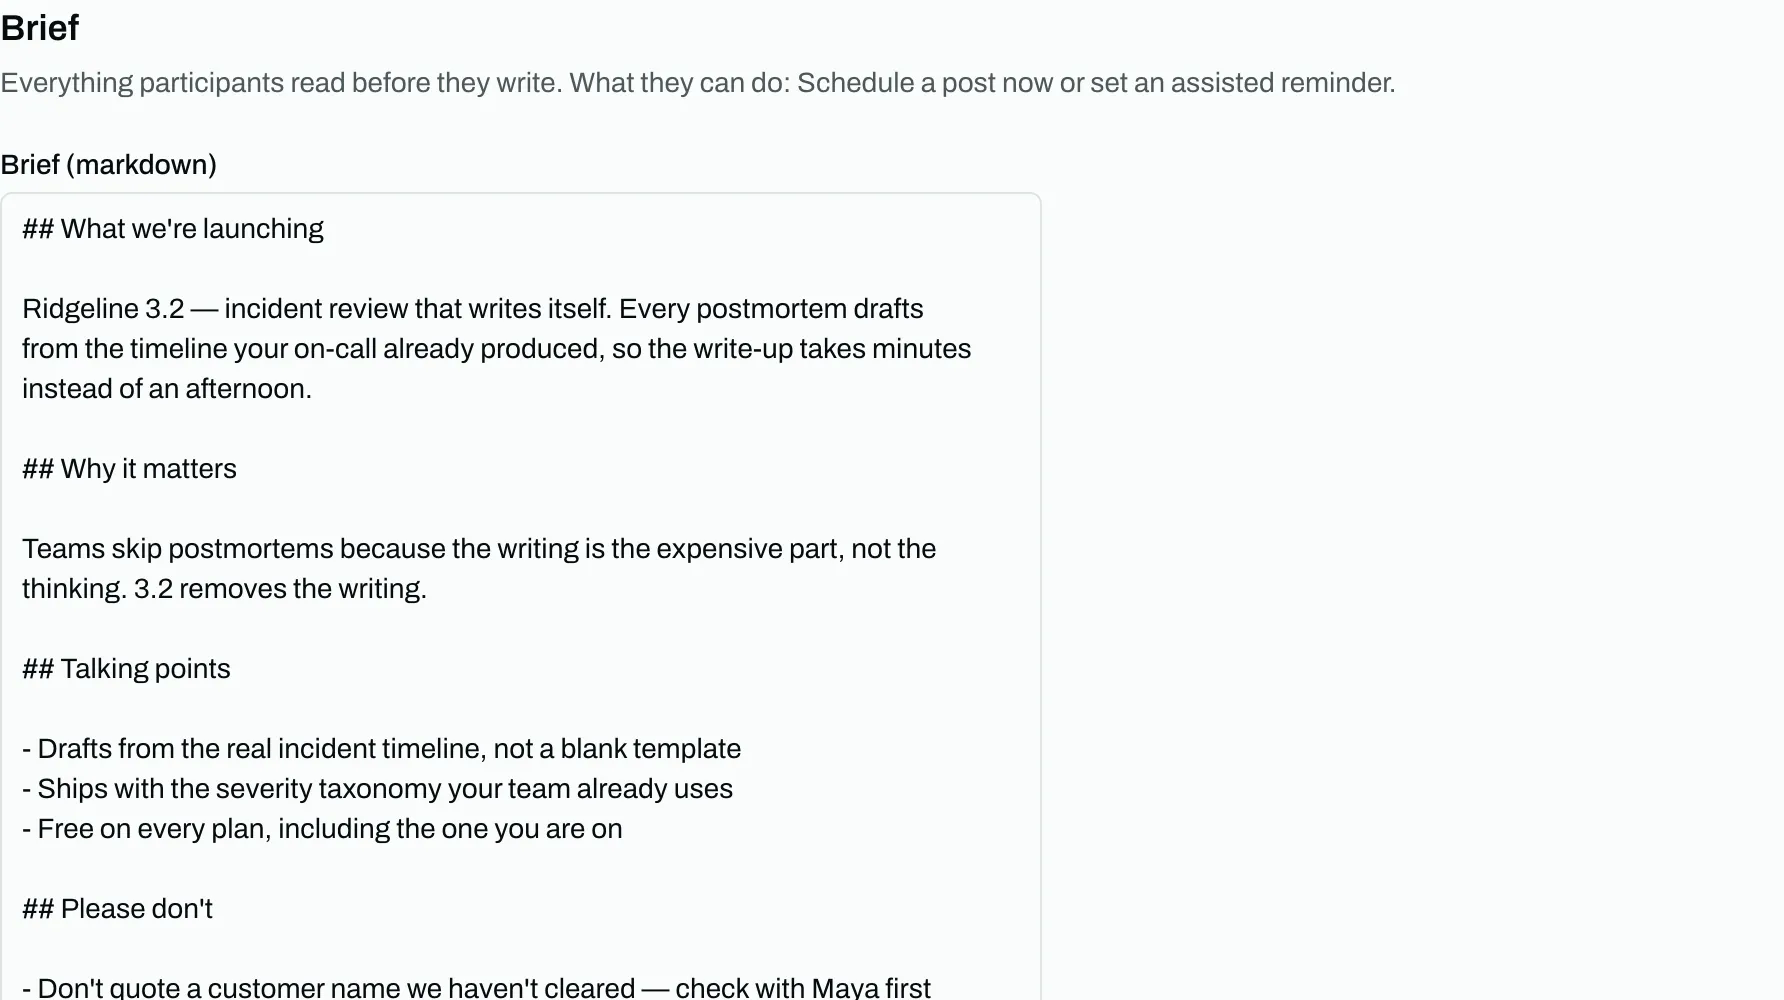
Create in the sidebar opens the composer. Each post starts with Who posts this: You, Personal invite, or Group invite, just like the calendar composer. Posts written only by you stay a solo schedule. On the Overview, Start a campaign opens the same launch with coordination on from the first keystroke — the roster and brief are there while you set the basics and write the announcement. You begin with the post itself rather than a form about it:
- Write it. One shared text, with different words per account where a platform wants them.
- Add more posts if you want, with + Add a post. They stay together as one thing — a follow-up an hour later, another next week — and one Schedule sets them all going at the times you picked.
- Schedule it, or publish it now. On its own this is ordinary scheduled posting: no roster, no review, and it never spends your plan's launch allowance.
- Add an invite if other people will post. Choose Personal invite or Group invite on its card. Save keeps it as a draft; Schedule sends invitations with email addresses and shows links you can copy. You can also start with an invite before writing a post of your own. Saving the first invite turns the composition into a campaign. If the post already belongs to a campaign, its invitations join that campaign automatically.
To name a campaign while writing, choose Create new campaign in the Campaign menu. Your written posts become that campaign; the first post sets its launch date and anchor. If you have not picked a date yet, set the first post's time before scheduling.
You do not choose between "a post" and "a launch" up front, and you never have to start over to change your mind. A launch is what a post becomes when you ask other people to join it.
The calendar offers the same shortcut. Hover any future day, or open it on a phone, and + New post starts a post aimed at that day.
Overview leads with anything that needs you (posts in review, failed publishes, posts to send by hand). Next 24 hours opens the calendar.
Setting up a workspace
- Create the workspace. Whoever creates it is the owner.
- Connect a posting account. Sign-up offers this straight after, and Settings → Accounts is where you add more later. This is the account your launch announcement publishes from. Without one, the announcement moves to the assisted route and you publish it yourself at the launch moment, which is a supported way to run a launch rather than a failure.
- Start a subscription when you are ready to publish a launch. You can build one without a plan, and up to 10 people can join it. Your own posts stay free either way. See plans and limits.
- Invite your team in Settings → Members. These are the people who write and approve inside your workspace, which is a different thing from inviting people to a launch. That happens per launch and needs no account at all.
Your first launch
Turn Rehearsal on for a practice run if you want. The whole schedule executes and nothing reaches any platform, so you can watch it work before it matters. You can flip it any time before scheduling the launch, but not after.
From there, the organizer guide covers building it.
Last updated 2026-08-30